An iPhone only chat application.
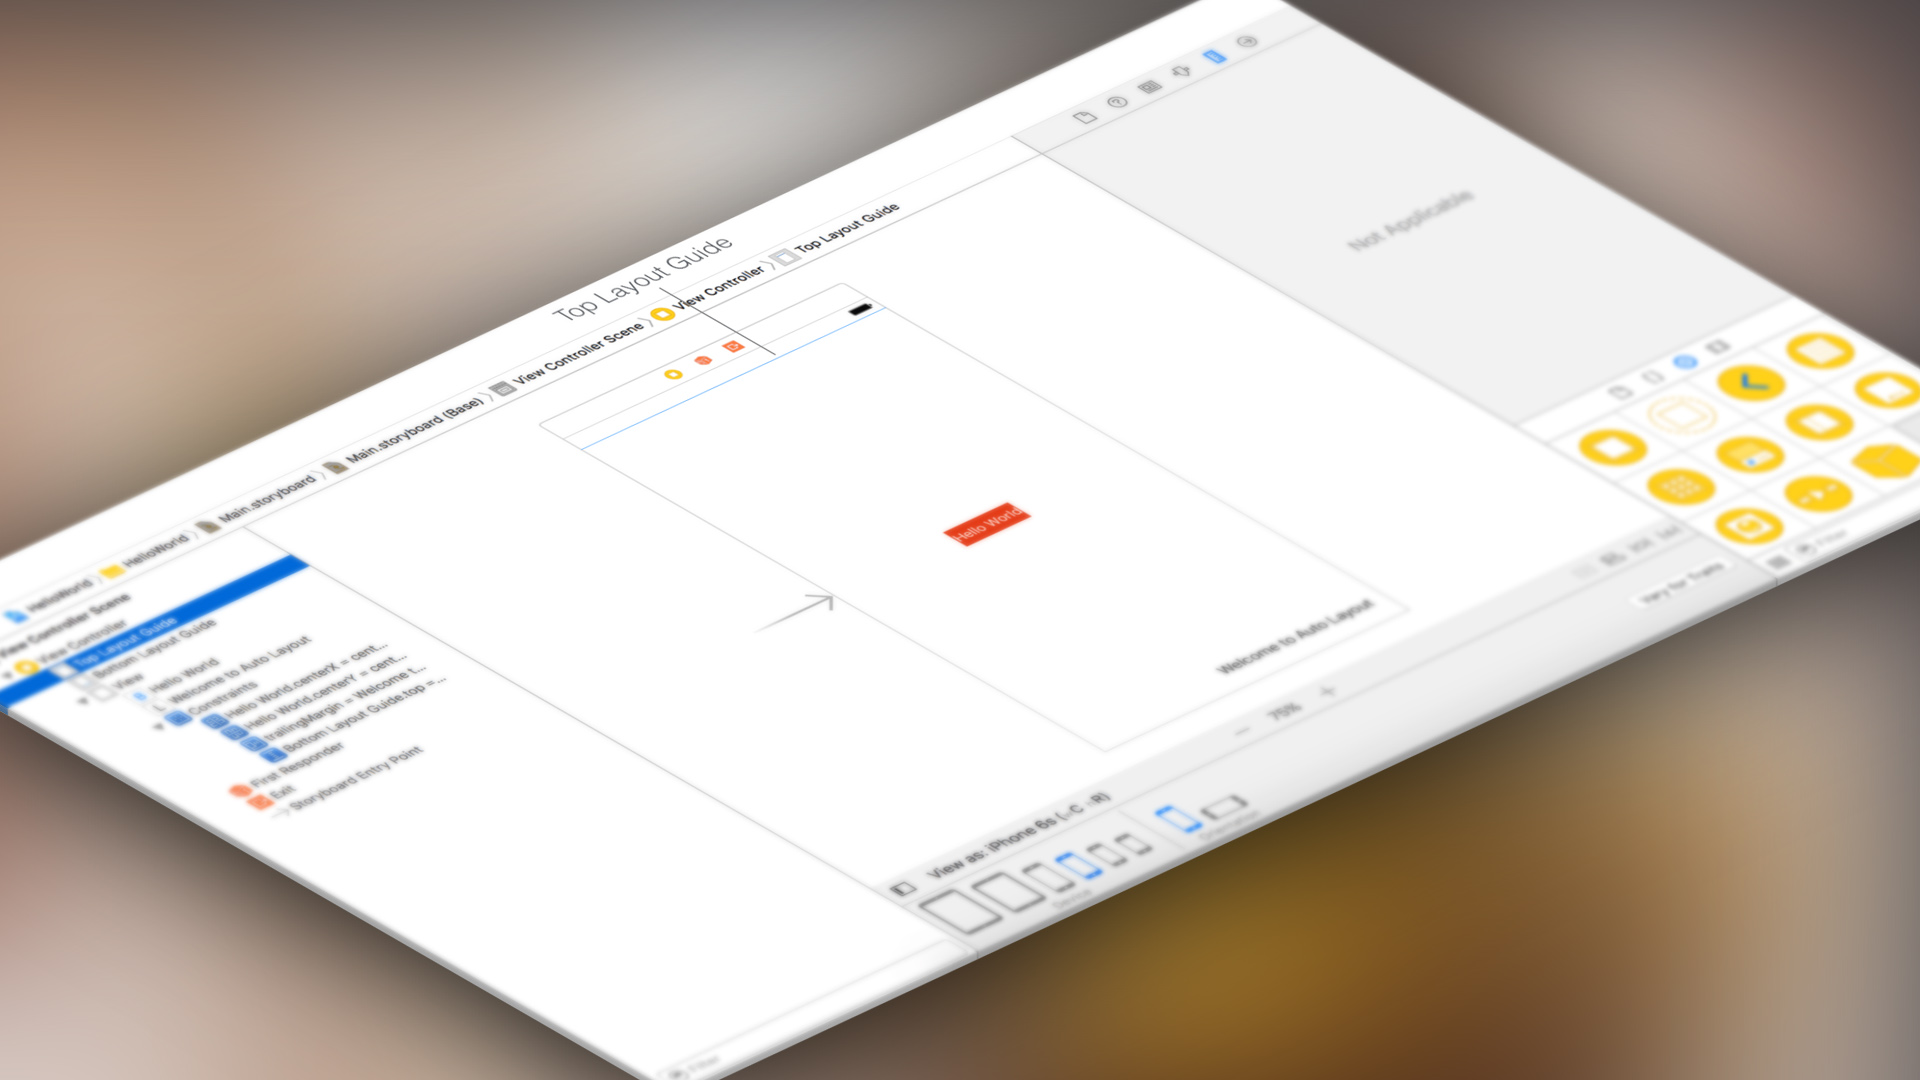
If you need to create a Messenger/Telegram/WhatsApp like interface for iPhone you can start by simply taking Xcode provided Tabbed Application template and personalize each view controller as desired to get your interface flow working. This includes various transition by segue or pushViewController, device rotation, autosizing etc…
A Universal chat application.
For a Universal iPhone and iPad chat application it becomes more complicated, this isn’t that simple…
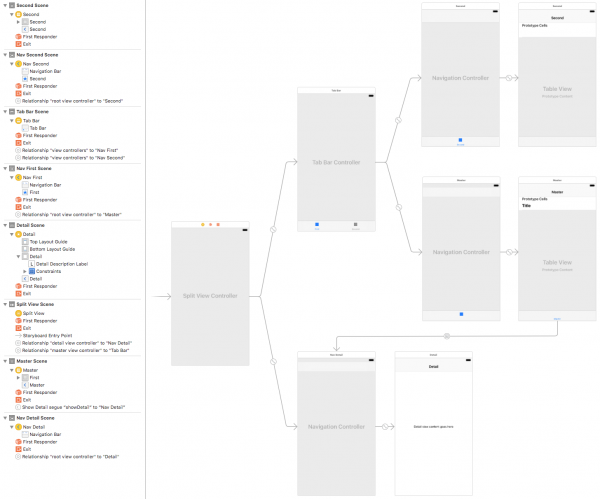
iOS SDK isn’t really good in providing acceptable default behavior when you combine some simple interface elements to obtain a complex one. For a Universal app we must modify the Storyboard by adding UISplitViewController, make it the Storyboard Entry Point and move the UITabBarController in such way to replace Master View Controller. Or start with Master-Detail Application example and go the other way around. Choosing the later one you must end with something similar to this storyboard:
I aim to misbehave.
On an iPad, this setup works pretty well, but on iPhone and iPhone Plus the default implementation tends to misbehave terribly. In a compact horizontal size class, like in portrait and landscape orientation on iPhone or in portrait orientation on iPhone Plus, when you tap on a table view item the detail view controller is presented as a modal popover with no controls to close it. This is because UITabBarController, placed as replacement of UINavigationController of Primary view of UISplitViewController, to behave correctly, must override -showViewController:sender: method called by UISplitViewController in horizontally compact size. But it doesn’t and default implementation presents the incoming detail view controller modally.
We can solve this in three ways:
- by subclassing
UITabBarController and override -showViewController:sender:
- by subclassing
UISplitViewControllerDelegate and override -showDetailViewController:sender:
- by implementing the
UISplitViewControllerDelegate optional protocol method -splitViewController:showDetailViewController:sender: of UISplitViewController delegate
All solutions are similar, when show[Detail]ViewController is called, you need to take the incoming UIViewController, cast it to UINavigationController, get the topViewController and push it on selectedViewController of your UITabBarController. Code speaks better:
0 1 2 3 4 5 6 7 8 9 10 11 12 13 14 15 16 17 18 19 20 21 |
- (BOOL)splitViewController:(UISplitViewController *)splitViewController showDetailViewController:(UIViewController *)vc sender:(nullable id)sender { if (splitViewController.collapsed) { UITabBarController *tabBarController = (UITabBarController *)splitViewController.viewControllers.firstObject; UINavigationController *selectedNavigationViewController = (UINavigationController *)tabBarController.selectedViewController; // push detail view on the navigation controller UIViewController *viewControllerToPush = vc; if ([vc isKindOfClass:[UINavigationController class]]) { UINavigationController *navController = (UINavigationController *)vc; viewControllerToPush = navController.topViewController; } viewControllerToPush.hidesBottomBarWhenPushed = YES; [selectedNavigationViewController pushViewController:viewControllerToPush animated:YES]; return YES; } return NO; } |
Now we are good in portrait orientation, but try to rotate iPhone Plus to landscape and you will see that the detail view controller is on the left side of the split view controller and not on the right where it must be… This is again because UITabBarController is asked to handle the transition to not collapsed regular horizontal size class via -separateSecondaryViewControllerFromPrimaryViewController: but it doesn’t implement it.
Compact to Regular
As above we can solve this in three ways. General steps are to check if the topmost view controller is a DetailViewController, if so pop it from the navigation stack, embed it in a UINavigationController and return the result to UISplitViewController.
|
|
- (nullable UIViewController *)splitViewController:(UISplitViewController *)splitViewController separateSecondaryViewControllerFromPrimaryViewController:(UIViewController *)primaryViewController { UITabBarController *tabBarController = splitViewController.viewControllers.firstObject; UINavigationController *selectedNavigationViewController = (UINavigationController *)tabBarController.selectedViewController; if ([[selectedNavigationViewController topViewController] isKindOfClass:[DetailViewController class]]) { UIViewController *detailsViewController = [selectedNavigationViewController popViewControllerAnimated:NO]; UINavigationController *detailsNavigationViewController = [[UINavigationController alloc] initWithRootViewController:detailsViewController]; return detailsNavigationViewController; } return nil; } |
And back to Compact
Now if you rotate iPhone Plus back from landscape to portrait you will lose the DetailViewController from your navigation stack. To preserve it you must manually push it back to one of the UITabBarController views UINavigationController‘s.
0 1 2 3 4 5 6 7 8 9 10 11 12 13 14 15 16 17 18 19 20 21 22 23 24 25 |
- (BOOL)splitViewController:(UISplitViewController *)splitViewController collapseSecondaryViewController:(UIViewController *)secondaryViewController ontoPrimaryViewController:(UIViewController *)primaryViewController { if ([secondaryViewController isKindOfClass:[UINavigationController class]] && [[(UINavigationController *)secondaryViewController topViewController] isKindOfClass:[DetailViewController class]]) { DetailViewController *detailViewController = (DetailViewController *)[(UINavigationController *)secondaryViewController topViewController]; if ([detailViewController detailItem] == nil) return NO; if ([primaryViewController isKindOfClass:[UITabBarController class]]) { for (UIViewController *viewController in [(UITabBarController *)primaryViewController viewControllers]) { if ([viewController isKindOfClass:[UINavigationController class]]) { if ([[(UINavigationController *)viewController topViewController] isKindOfClass:[MasterViewController class]]) { detailViewController.hidesBottomBarWhenPushed = YES; [(UINavigationController *)viewController pushViewController:detailViewController animated:NO]; return YES; } } } } } return NO; } |
Debug tip
To see yourself how controller hierarchy change with various screen sizes and with orientation change, place a breakpoint in each of delegate calls and print the whole view controller hierarchy in LLDB console with po [[[UIWindow keyWindow] rootViewController] _printHierarchy].